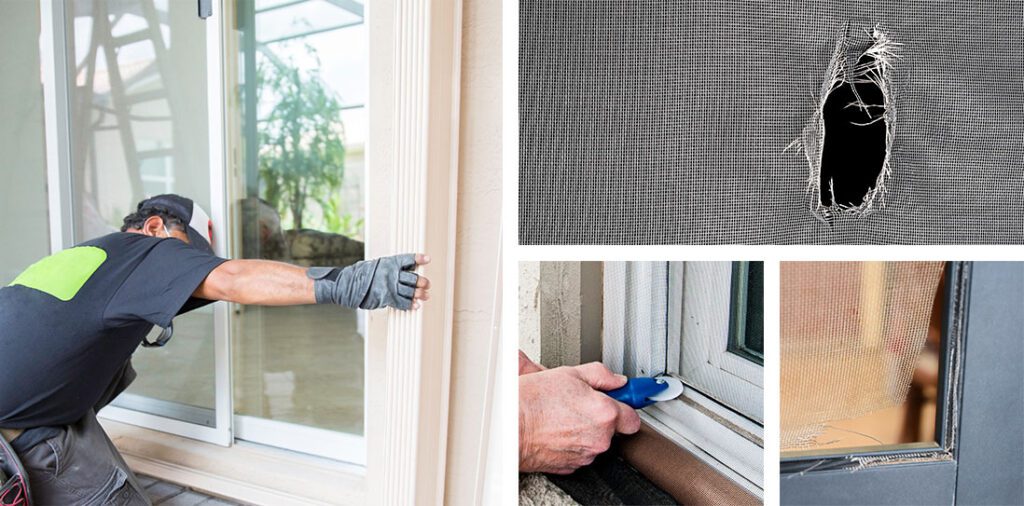
Window screens are essential for enjoying fresh air while keeping pesky insects out. However, screens can sometimes become damaged due to tears, holes, or loose mesh. The good news is that repairing a window screen is a relatively simple and cost-effective DIY task that can save you from having to replace the entire screen. In this guide, we’ll walk you through the step-by-step process of repairing a window screen, allowing you to restore its functionality and keep your home bug-free.
Assess the damage:
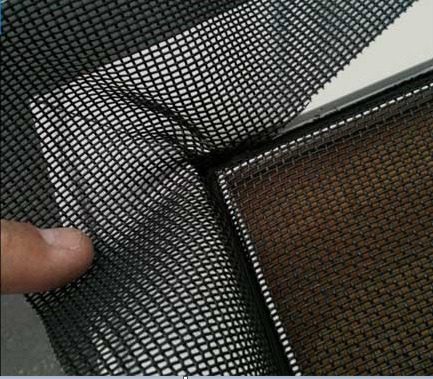
Before you begin, carefully inspect the window screen to identify the type and extent of the damage. Common issues include small holes, tears, or loose mesh.
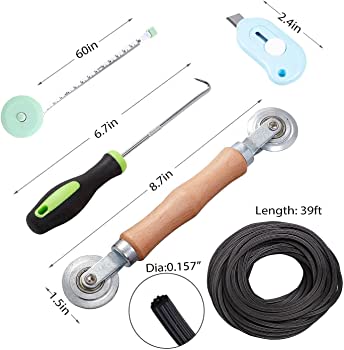
Gather the necessary toolsand materials:
To repair the window screen, you’ll need the following tools and materials:
Replacement screen patch or roll of screen mesh
Scissors or utility knife
Spline roller or flathead screwdriver
Needle and thread or adhesive (depending on the repair method chosen)
Optional: screen repair adhesive or patch kit
Determine the repair method:
There are two primary methods for repairing window screens: patching and re-meshing.
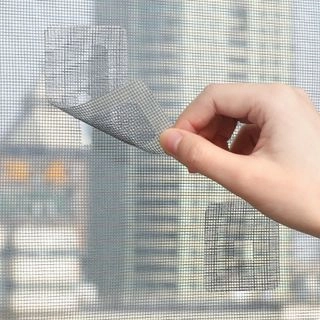
Patching: This method is suitable for small holes or tears. If the damage is less than 3 inches, you can use a pre-cut screen patch or cut a piece of screen mesh slightly larger than the damaged area.
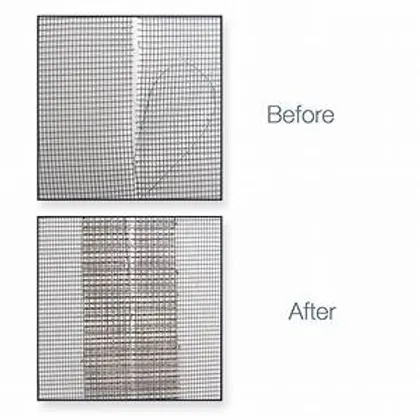
Re-meshing: If the damage is extensive or there are multiple tears, re-meshing the entire screen may be more effective. In this case, you’ll need a roll of screen mesh to replace the entire section.
Patching the screen:
For small holes or tears, follow these steps:
Clean the damaged area and ensure it is dry.
Cut a pre-cut screen patch or a piece of screen mesh slightly larger than the damaged area.
Place the patch over the hole, ensuring it covers the entire damaged section.
Using a needle and thread or screen repair adhesive, secure the patch to the screen by stitching or gluing around the edges.
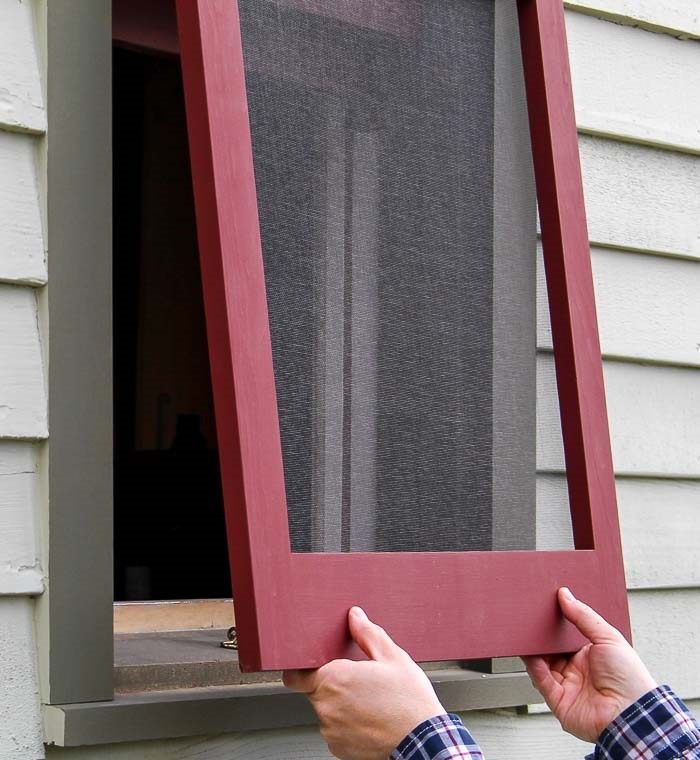
Re-meshing the screen:
For larger or multiple tears, re-meshing is the best option. Here’s how to do it:
Remove the damaged section of the screen by cutting away the spline with a utility knife or flathead screwdriver.
Roll out the new screen mesh, ensuring it covers the entire opening.
Cut the mesh with scissors, leaving a few inches of excess on all sides.
Place the mesh over the frame, ensuring it is centered and aligned.
Use a spline roller or flathead screwdriver to press the new spline into the groove, securing the mesh in place.
Gradually work your way around the entire frame, pressing the spline firmly to ensure a tight fit.
Trim off any excess mesh using scissors or a utility knife.
Final touches:
Once the repair is complete, inspect the screen to ensure it is taut and free of any bulges or loose areas. Give it a gentle tug to check its stability. If necessary, reposition the spline or trim any excess mesh.
Repairing a damaged window screen is a straightforward DIY task that can save you time and money. By following these step-by-step instructions, you can effectively patch small holes or tears, or re-mesh the entire screen if needed. With a repaired window screen, you can once again enjoy fresh air while keeping unwanted insects outside. Don’t let a damaged screen hinder your enjoyment of the outdoors—grab your tools, follow these instructions, and restore your window screen to its functional glory.
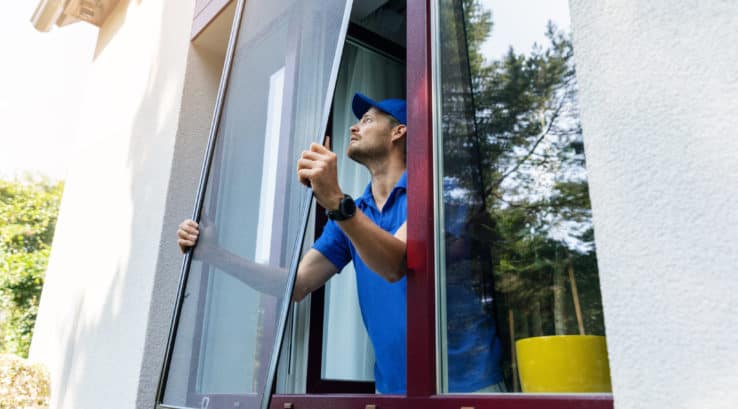
If it seems to you that this is too complicated, then you can contact us, we are real professionals in this matter and have many years of experience in eliminating such problems. Fill out the form in our online booking or call us at this number and we will solve your problem.